Search for the tools used to build VR environments and the results look remarkably similar to each other. Unity and Unreal at the top, a handful of browser frameworks in the middle, and a services pitch at the bottom. Most of these lists are assembled by affiliate publishers or by agencies looking for development work, and it shows in what they leave out.
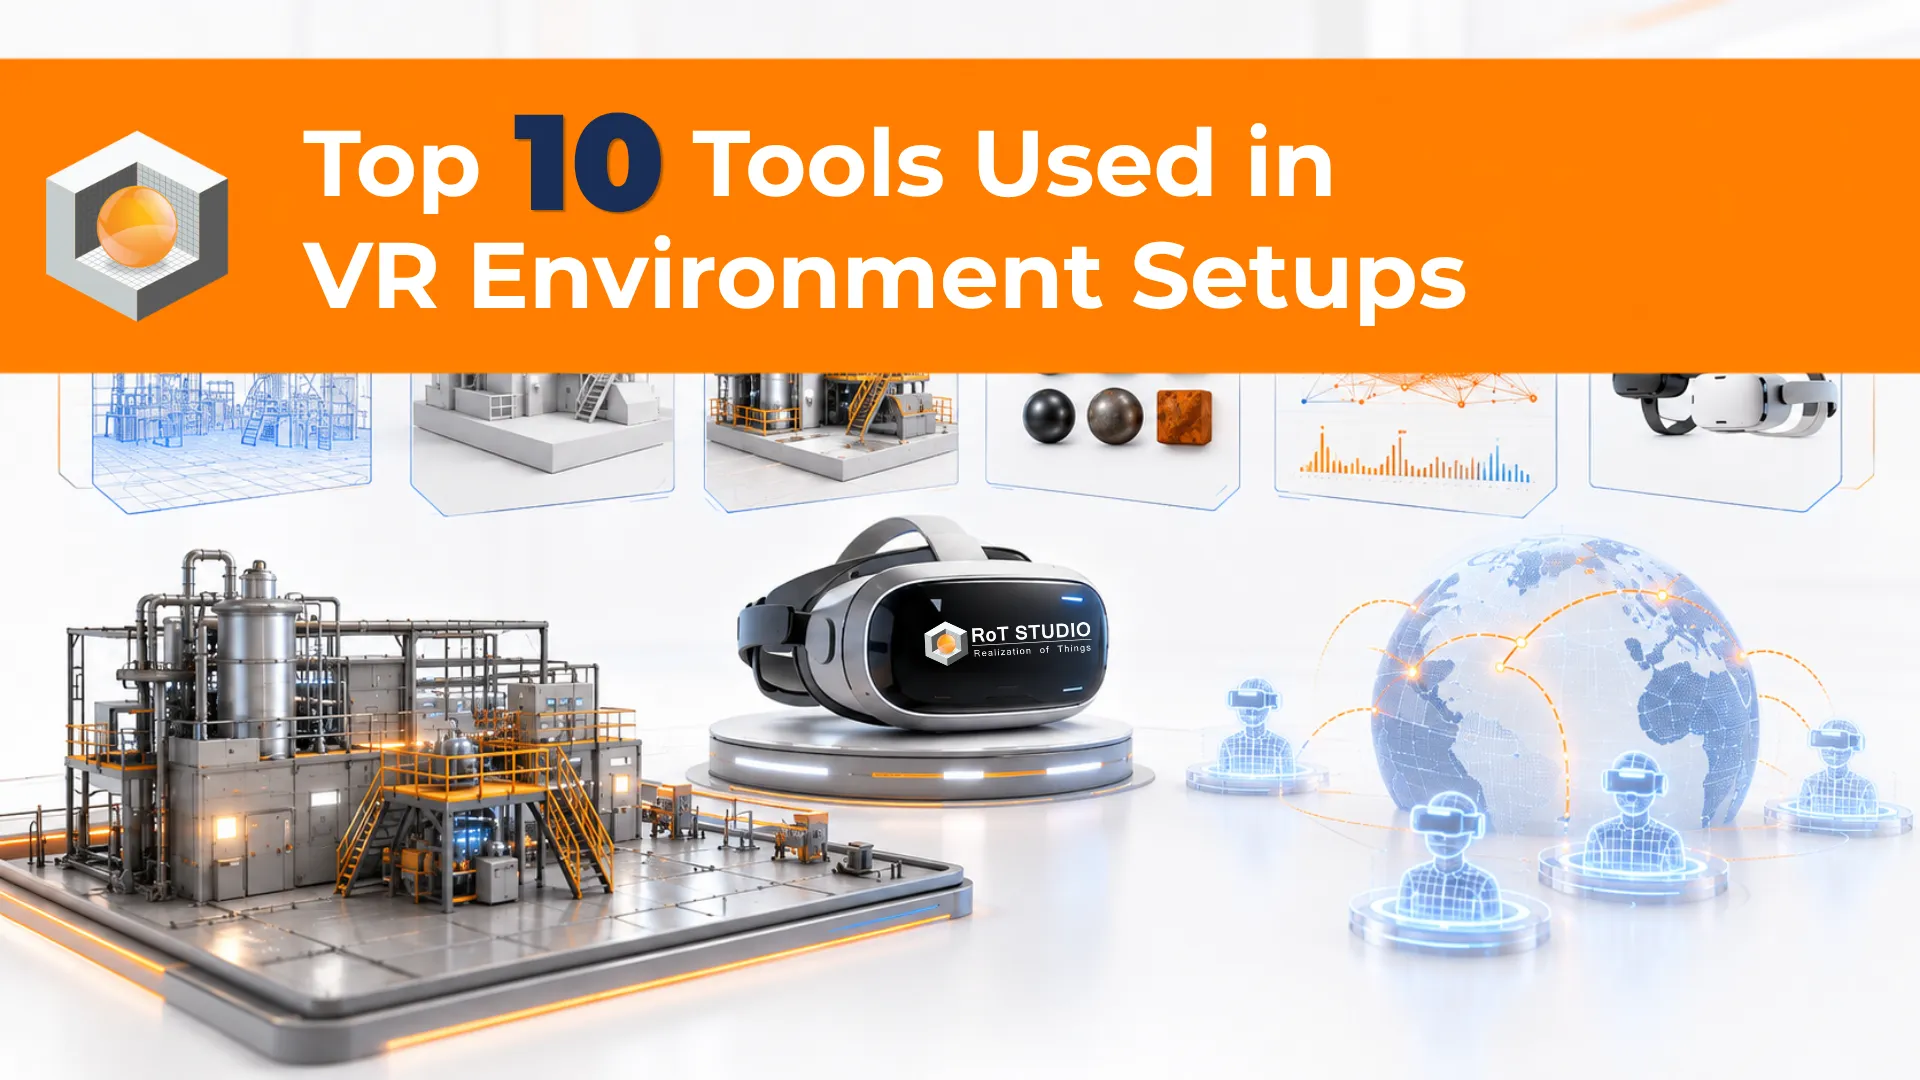
What they leave out is the second half of the job. Building a virtual environment is not one decision about a game engine. It is a pipeline running from geometry through materials and optimisation to validation on the target headset, and then to getting that build onto a fleet of devices that other people will use without you standing next to them.
This list is organised the way a production team meets these tools rather than as a ranking, because the ranking question is usually the wrong one. A studio does not choose between Blender and Unity. It uses both, at different stages, for different reasons.
How This List Was Put Together
Every tool below had to meet three conditions. It had to be in active production use for enterprise VR environment work rather than for demos or hobby projects. It had to occupy a distinct stage of the pipeline, so no two entries do substantially the same job. And it had to be something an organisation can realistically adopt, meaning documented, supported, and not dependent on a single maintainer.
Tools were assessed against the criteria that actually determine whether an environment ships: real-time rendering quality at headset frame rates, native support for current headset runtimes, spatial interaction handling covering controllers, hand tracking and locomotion, cross-platform build targets, asset and scene authoring against common interchange formats, and performance profiling built for stereo rendering rather than adapted from flat-screen tooling.
A note on independence, since this article is published by a VR training studio. RoT STUDIO develops its own authoring platform, which competes with several tools listed here. That platform is deliberately excluded from the ten and discussed separately at the end, under its own heading, so the list stands or falls on its own. Nothing below is a paid placement and no affiliate relationships apply.
What a VR Environment Setup Actually Involves
A VR environment setup is the full toolchain used to create a navigable, interactive three-dimensional space and deliver it to a headset at a stable frame rate. It spans four stages that most teams underestimate in different ways.
The runtime layer is where the environment lives and where interaction logic is written. The modelling layer produces the geometry, whether authored from scratch or captured from a real site. The materials and optimisation layer decides how the environment looks and whether it runs. And the validation and deployment layer determines whether it works on the actual device and reaches the people meant to use it.
Teams new to VR typically over-invest in the first two stages and discover the third and fourth late, usually when a visually convincing environment turns out to be unusable on a standalone headset. The ordering below reflects the pipeline, not importance.
Stage One: The Runtime Layer
1. Unity
Unity remains the default runtime for enterprise VR training, and the reason is ecosystem depth rather than raw capability. Its interaction toolkit handles the fiddly parts of VR input, covering controller mapping, grab and socket interactions, teleportation and continuous locomotion, and hand tracking, without a team writing that layer from nothing. Build targets cover standalone Android headsets, PC VR, and browser delivery from one project.
The trade-off is that out-of-the-box visual fidelity sits below Unreal unless a team invests in its render pipeline settings. For training environments where clarity of task matters more than photorealism, that trade is usually worth making, and the volume of documentation and third-party assets shortens onboarding for new developers considerably.
2. Unreal Engine
Unreal produces higher fidelity out of the box and its node-based visual scripting lets designers prototype interactions without writing code, which shortens the loop between a subject matter expert describing a procedure and someone seeing it running.
The honest caveat is weight. Unreal is more demanding to optimise for standalone headsets, and a team targeting untethered devices will spend meaningfully more time getting frame rates stable than the same team would in Unity. Where the deliverable runs on PC VR or where visual realism is itself the point, such as architectural or design review environments, that cost is justified. For a standalone training rollout across hundreds of headsets it often is not.
3. OpenXR
OpenXR is not an engine and it is the entry most commonly missing from comparable lists. It is the open standard that sits between an application and the headset runtime, so that supporting a new device does not mean rebuilding the input and rendering layer against a proprietary software development kit.
For an organisation deploying across mixed hardware, or one that expects its headset estate to change within the equipment’s lifetime, building against OpenXR rather than a vendor-specific kit is the difference between a device refresh being a procurement exercise and a development project. This decision is made early and is expensive to reverse, which is why it belongs in the runtime discussion rather than as a technical footnote.
Teams tend to open a VR project by debating Unity against Unreal. In practice the target device decides most of that argument before anyone opens either editor, because a standalone headset budget rules out a large share of what makes the higher-fidelity option attractive.
Settle the deployment target and the fidelity floor first. The engine choice usually falls out of those two answers rather than driving them.
Stage Two: Building the Environment
4. Blender
Blender has become the practical default for VR environment geometry, and cost is only part of why. It exports cleanly to the interchange formats engines expect, handles the retopology and UV work that VR optimisation demands, and its Python scripting allows batch export routines that keep asset versions consistent across a large environment.
Its weakness shows in industrial contexts. Where source material arrives as CAD data from a plant or a piece of machinery, Blender is not the most direct route, and teams often find themselves converting upstream before they can begin. For environments authored from reference rather than from engineering data, it is difficult to argue against.
5. Autodesk 3ds Max and Maya
These remain the incumbents in industrial and architectural pipelines, largely because of what they connect to rather than what they do in isolation. Where a client supplies engineering drawings, plant layouts, or equipment models, the Autodesk toolchain usually ingests them with less loss than the alternatives.
Maya carries the stronger animation and rigging capability, which matters when an environment contains human characters or articulated machinery. The cost model is the obvious constraint, and for a small team building environments from reference photography rather than CAD, the licence is difficult to justify against a free alternative that covers the same ground.
6. RealityCapture and Polycam
Photogrammetry has moved from a specialist technique to a routine part of environment work, and it changes the economics of site-specific training. Rather than modelling a client’s facility by hand from photographs, a team can capture it and reconstruct usable geometry from the scan.
The output is never drop-in ready. Scan data arrives dense, noisy, and far over any sensible polygon budget, so the real workflow is capture, then aggressive cleanup and retopology in Blender or an equivalent, then texture baking from the high-density source onto the optimised mesh. Teams that skip the middle step produce environments that look convincing on a workstation and will not hold frame rate in a headset. Where recognisability of a specific real location matters, as it does for site induction or emergency egress training, the effort pays back clearly.
Assembling this pipeline in-house is a real commitment of specialist hiring and time. Talk to the RoT STUDIO team about what your environment actually requires before you commit to either route.
Stage Three: Materials and Optimisation
7. Adobe Substance 3D Painter
Substance is where a VR environment stops looking like untextured geometry. Its central contribution to a production pipeline is baking, taking surface detail from a high-density model and writing it into texture maps applied to a low-polygon version that a headset can actually render. That single technique is what allows a visually detailed environment to run inside a tight performance budget.
Reusable material definitions matter more than they first appear. An environment containing forty pieces of painted steel equipment should not have forty separately authored materials, and a shared definition applied across all of them keeps both the visual language and the memory footprint consistent. The subscription cost is the main objection, and free alternatives exist, though none currently match the baking workflow for production speed.
8. Simplygon
Optimisation is the stage most teams treat as cleanup and then discover is a discipline. Platform guidance for standalone headsets has long suggested that something in the region of a quarter of development time goes into optimisation, and teams that plan for a fraction of that tend to find out why late in the schedule.
Simplygon automates the parts that scale badly by hand, generating level-of-detail variants and reducing polygon counts against defined budgets across a whole asset library rather than one model at a time. Blender’s built-in reduction tools cover smaller environments adequately, so this is a tool that earns its place at volume rather than on every project. The consideration specific to VR is overdraw: because the scene renders twice, once per eye, geometry and transparency cost roughly double what flat-screen intuition suggests.
The most expensive mistake in VR environment work is modelling first and optimising afterwards. Reduction applied late degrades assets that were never built to survive it, and the rebuild costs more than doing it correctly would have.
Agree the budget against the target device before the first asset is authored, and treat it as a constraint on the brief rather than a target to approach. Dropped frames in a headset are not a cosmetic problem, since they produce genuine physical discomfort and end sessions early.
Stage Four: Validation and Deployment
9. Meta Quest Developer Hub and RenderDoc
An environment that performs well in an editor preview tells you very little about how it behaves on a headset, because the workstation running the preview is not the device that has to render it. Device-side tooling closes that gap by reporting frame timing, thermal behaviour, and memory pressure from the hardware itself.
RenderDoc complements this by capturing individual frames for inspection, which is how a team finds the specific draw call or transparent surface responsible for a stall. The pairing matters because performance problems in VR are rarely uniform. A scene holds frame rate everywhere except one doorway, and only frame-level capture explains why.
10. ArborXR and ManageXR
This is the category comparable lists omit almost universally, and it is where enterprise VR programmes most often come apart. A finished environment still has to reach a fleet of headsets, launch into the right application without a user navigating a store interface, update without each device being collected and handled individually, and report which units are actually in use.
Purpose-built XR device management covers what general mobile device management does not. The distinguishing capabilities are differential updating, which matters because VR builds are large and pushing complete packages across a fleet saturates a network, kiosk configuration that locks a headset to a single training application, an in-headset launcher, and remote view so support staff can see what a user is seeing without being in the room.
The operational argument is straightforward. During a pilot of five or ten headsets, manual configuration is entirely reasonable. At twenty, fifty, or a hundred devices across several sites, the daily management burden overtakes the content work, and organisations that treated the management layer as an afterthought discover it as an unbudgeted cost. Deciding this alongside the hardware, rather than after deployment, is what separates a programme that scales from one that stalls at pilot.
The Ten Tools at a Glance
A consolidated view of where each tool sits and what it is genuinely competing against.
| Tool | Pipeline stage | Where it earns its place |
|---|---|---|
| 1. Unity | Runtime | Standalone headset training at scale |
| 2. Unreal Engine | Runtime | PC VR where visual realism is the deliverable |
| 3. OpenXR | Runtime standard | Mixed or changing headset estates |
| 4. Blender | Modelling | Environments authored from reference |
| 5. 3ds Max and Maya | Modelling | CAD-fed industrial and architectural work |
| 6. RealityCapture, Polycam | Capture | Replicating a specific real location |
| 7. Substance 3D Painter | Materials | Detail inside a tight performance budget |
| 8. Simplygon | Optimisation | Large asset libraries, automated reduction |
| 9. Quest Developer Hub, RenderDoc | Validation | Diagnosing device-side performance |
| 10. ArborXR, ManageXR | Deployment | Fleets beyond roughly twenty headsets |
Frequently Asked Questions
Organisations scoping a first VR environment project tend to arrive with a similar set of questions, usually about scope and sequencing rather than about individual tools. These recur most often.
Do you need all ten of these tools?
No. A minimum viable pipeline is a runtime, a modelling tool, a texturing tool, and device-side profiling, which in practice is often Unity, Blender, Substance, and the platform’s own developer tooling. Photogrammetry, automated optimisation, and fleet management become necessary as scope, asset volume, and headset count grow rather than at the outset.
Which is better for VR environments, Unity or Unreal?
The target device answers this more often than the engines do. Unity is generally the more practical choice for standalone headsets at scale, given lighter optimisation demands and a deeper interaction toolkit. Unreal is the stronger option where the work runs on PC VR and visual realism is itself the deliverable. Teams with existing expertise in one should weight that heavily, since familiarity typically outweighs the technical margin between them.
Can you build a VR environment without writing code?
Increasingly yes, through visual scripting inside the major engines and through no-code authoring platforms aimed at training teams. The realistic boundary is complexity. Guided procedures, branching scenarios, and scored assessments are well within reach of no-code tooling, while custom physics, hardware integrations, and unusual interaction models still require development. Many organisations run both, using no-code for routine content and commissioning custom work where it is genuinely needed.
How long does it take to build a VR training environment?
The variable that dominates is whether the environment is generic or site-specific. A scenario built in a representative setting moves considerably faster than one replicating a particular facility, where capture, cleanup, and client review cycles are added. Ready-made modules deployed from a catalogue are faster again, since the environment already exists and only configuration remains.
What is the most common technical mistake in a first VR project?
Building for a workstation and discovering the headset late. An environment authored without a polygon and texture budget agreed against the target device will look convincing in an editor and fail on hardware, and by then the assets need rebuilding rather than reducing. Testing on the actual device from the first week costs very little and prevents the expensive version of this problem.
Is device management really necessary for a small deployment?
Not for a pilot. Configuring five or ten headsets by hand is entirely reasonable and most organisations start there. The threshold arrives somewhere around twenty devices, or as soon as they are split across sites, at which point manual updates and configuration drift consume more time than the content work. Budgeting for it alongside the hardware avoids discovering it as an unplanned cost after rollout.
Choosing a Stack You Can Actually Maintain
The tools on this list are not difficult to obtain. Most are free or inexpensive, and the documentation is extensive. What is difficult is the expertise to run them together, since a working VR environment pipeline needs a 3D artist who understands real-time constraints, a developer who knows the runtime, and someone who owns device performance and deployment.
That combination is the actual barrier, and it is the reason organisations that assemble a stack without a clear view of who maintains it tend to produce one good environment and then stall. The realistic question is not which tools are best in the abstract. It is which stack an organisation can still be running competently in two years, and whether building that capability internally is a better use of resources than buying the outcome.
How RoT STUDIO Approaches This
RoT STUDIO runs a pipeline built from the categories above, with the engine choice made against the client’s deployment target rather than as a house standard, and optimisation treated as a scheduled stage rather than as cleanup. That work sits behind the VR Training Catalogue of ready-made modules and the Customized VR/XR Services route for environments replicating a specific site or procedure.
As disclosed at the outset, RoT STUDIO also develops the RoT STUDIO License, a no-code authoring platform that lets training teams build and revise scenarios through a drag-and-drop workflow, including with 3D models imported from their own facilities. It competes with several tools listed above, which is exactly why it was kept out of the ten rather than ranked among them. Anyone evaluating it should weigh it against the alternatives here on the same criteria, and the appropriate comparison is with no-code authoring platforms rather than with an engine.
The wider VR and XR training solutions range applies the same pipeline across operational, technical, and behavioural training, and the practical constraints described in where VR resolves long-standing corporate training problems are largely downstream of the deployment layer covered above.